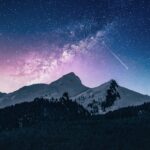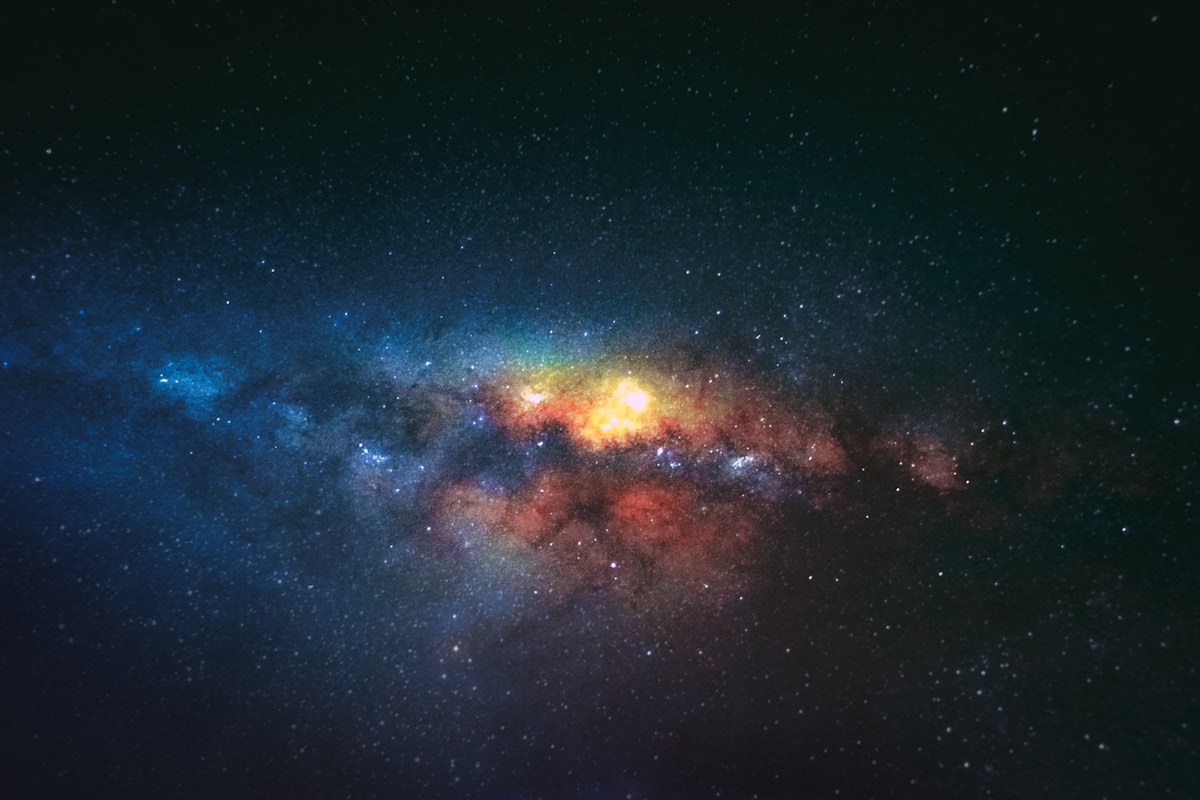
Standing beneath an unpolluted rural night sky and watching the radiant, dusty backbone of our home galaxy arch across the heavens is an unforgettable human experience. For digital photographers, capturing the vivid stellar clouds, colorful emission nebulae, and dark molecular dust lanes of the Milky Way core represents one of the most rewarding branches of landscape astrophotography.
However, successful nightscape imaging requires mastering the delicate balance between maximum light gathering, sensor noise control, and Earth’s rotational motion. In this comprehensive technical guide, we break down every stage of capturing gallery-worthy Milky Way imagery.
1. Planning the Shoot: Season, Moon Phase & Dark Skies
Before touching your camera gear, successful astrophotography requires meticulous environmental preparation:
- Milky Way Season: For observers in the Northern Hemisphere, the bright galactic core (located in the constellation Sagittarius) is visible between March and October. In March/April, it rises in the early pre-dawn hours; by July/August, it commands the southern sky directly after twilight.
- Moon Phase: Plan your photography within the New Moon window (roughly 4 days before to 4 days after the New Moon). A bright moon washes out subtle galactic dust lanes like severe light pollution.
- Location Scouting: Use apps like LightPollutionMap.info to find locations rated Bortle 1 to Bortle 3, far removed from urban light domes.
2. Recommended Gear Essentials
- Camera Body: A modern full-frame or APS-C digital camera with strong high-ISO dynamic range.
- Fast Wide-Angle Lens: A focal length between 14mm and 24mm with a fast maximum aperture of f/1.4, f/1.8, or f/2.8. Wide apertures allow your sensor to collect thousands more photons during short exposures.
- Heavy-Duty Tripod: A sturdy carbon-fiber or aluminum tripod is essential; even microscopic wind vibrations will blur pinpoint star fields over 20-second exposures.
- Intervalometer or Shutter Remote: Prevents camera shake caused by depressing the physical shutter button.
3. Manual Exposure Settings: The 500 Rule vs. NPF Rule
Because Earth rotates on its axis once every 24 hours, stars will streak into elongated trails if your shutter stays open too long. While the classic “500 Rule” (500 divided by focal length = maximum shutter speed) was standard for film, high-megapixel digital sensors require the more accurate NPF Rule (calculating focal length, sensor pixel pitch, and lens aperture):
| Focal Length (Full Frame) | Max Shutter Speed (Pinpoint Stars) | Aperture Setting | Base ISO Range |
|---|---|---|---|
| 14mm | 20 – 25 seconds | f/1.8 – f/2.8 | ISO 3200 – 6400 |
| 20mm | 13 – 16 seconds | f/1.8 – f/2.8 | ISO 3200 – 6400 |
| 24mm | 10 – 12 seconds | f/1.4 – f/2.8 | ISO 1600 – 3200 |
| 35mm | 6 – 8 seconds | f/1.4 – f/2.0 | ISO 1600 – 3200 |
4. Achieving Razor-Sharp Manual Focus on Stars
Autofocus does not work on the night sky. To achieve critical focus:
- Switch your lens and body to Full Manual Focus (MF).
- Turn off in-body or optical image stabilization (IS/VR).
- Activate Live View on your rear LCD and locate the brightest visible star or distant horizon light.
- Zoom in digitally to 10x or 15x magnification on your LCD screen.
- Slowly rotate the lens focus ring back and forth until the star becomes the smallest, crispest pinpoint of light possible. Secure the focus ring with tape to prevent accidental movement.
5. Next-Level Techniques: Star Tracking and Image Stacking
To take your nightscapes beyond single-shot exposures, consider two advanced workflows:
Image Stacking: Capture 10 to 20 identical back-to-back exposures and align them using specialized free software like Sequator (Windows) or Starry Landscape Stacker (Mac). Stacking averages out random sensor read noise, delivering remarkably clean images with the noise performance of a sensor 10 times larger.
Motorized Star Trackers: Portable equatorial trackers like the Sky-Watcher Star Adventurer or iOptron SkyGuider rotate your camera precisely opposite Earth’s spin. This allows shutter speeds of 2 to 4 minutes at low ISO 800, revealing vibrant, colorful hydrogen-alpha nebulae hidden inside the galactic core.
6. Post-Processing Workflows: RAW Development & Curve Stretching
Capturing clean RAW data in the field is only half the battle. Bringing out the faint, ethereal nebulosity and rich color palette of the Milky Way core requires deliberate, non-destructive post-processing in software like Adobe Lightroom, Photoshop, or PixInsight:
- White Balance Correction: Never leave nightscapes set to Auto White Balance. Set your RAW color temperature manually between 3800K and 4200K with a slight magenta tint (+5 to +10 tint). This neutralizes urban light pollution wash and restores the natural slate-blue aesthetic of deep space.
- Linear Curve Stretching: Avoid aggressive global contrast sliders. Instead, use precision tone curves to gently raise the midtones where the galactic dust lanes reside while keeping the shadow black point pinned to avoid clipping faint details into pure noise.
- Selective Color Grading: The Milky Way core is not monochromatic gray; it contains genuine astrophysical hues:
- Golden-yellow hues in the galactic bulge (dominated by ancient Population II stars).
- Vivid magenta and crimson emission nebulae (ionized hydrogen gas in the Lagoon and Trifid nebulae).
- Deep blue reflection nebulae (starlight scattered by interstellar dust in the Rho Ophiuchi cloud complex).
- Star Reduction: In wide-angle exposures, millions of tiny pinpoint stars can overwhelm the underlying dust lanes. Applying a gentle star reduction filter or star-masking tool (like StarNet++ or RC-Astro StarXTerminator) separates the stars from the background nebulosity, allowing you to enhance the core clouds without blooming the stars into distracting white disks.
7. Foreground Blending and Blue Hour Techniques
In single night exposures, foreground landscapes (mountains, trees, geological rock formations) inevitably appear as pitch-black silhouettes unless illuminated by distant artificial light. Master nightscape photographers create breathtaking, natural-looking images using composite time-blending:
Leave your tripod locked rigidly in place during twilight “Blue Hour” (roughly 30 to 45 minutes after sunset). Capture a low-ISO, long-exposure photo of the landscape at base ISO 100 and f/8 to capture pristine, noise-free foreground detail. Without touching or moving the tripod, wait 2 to 3 hours until astronomical darkness falls and the Milky Way core arches overhead. Capture your tracked or stacked sky exposures, and blend the two layers seamlessly in Photoshop using layer masks, producing images with cinematic dynamic range from foreground to stars.
8. Optical Aberrations in Nightscape Lenses: Coma, Astigmatism & Vignetting
Not all fast wide-angle lenses are created equal when photographing the night sky. In daytime landscape photography, small optical imperfections are easily hidden by fine foliage and textures. But in astrophotography, stars represent brutal, unforgiving optical test targets—infinite pinpoint light sources placed against pure black backgrounds.
- Sagittal Coma Flare (Coma): The most notorious aberration in wide-angle astro lenses. Caused by off-axis light rays failing to converge at a single focal point, coma distorts pinpoint stars near the corners of your image frame into bizarre, distracting “comet wings” or “seagull shapes.” Lenses engineered with specialized aspherical glass elements (such as the Sony 14mm f/1.8 GM, Sigma 14mm f/1.4 Art, or Samyang 24mm f/1.8) suppress coma dramatically.
- Astigmatism: Occurs when light rays traveling through vertical and horizontal lens planes focus at different depths, stretching corner stars into elongated ovals. Stopping a fast f/1.4 lens down slightly to f/1.8 or f/2.0 often cleans up corner astigmatism without sacrificing too much light gathering power.
- Severe Optical Vignetting: Fast wide-angle lenses suffer natural light falloff toward the corners of the sensor, sometimes losing up to 2.5 full stops of exposure in the periphery. Always apply calibrated lens correction profiles during RAW development or shoot dedicated “flat frames” to evenly illuminate the entire frame without amplifying shadow noise in the corners.
- Long Exposure Noise Reduction (LENR): Modern cameras offer an in-camera feature called Long Exposure NR (Dark Frame Subtraction). While it eliminates thermal sensor hot pixels, it forces the camera to take a second blank exposure of identical length after every shot, halving your shooting time. Most serious astrophotographers disable in-camera LENR and instead subtract manual dark frames during PC batch stacking.
9. Lens Dew Prevention and Power Management in the Field
When shooting long nightscape sequences or time-lapses in rural areas, nighttime radiative cooling causes the glass front element of your camera lens to drop below the ambient atmospheric dew point. Within minutes, moisture will condense across your optics, transforming sharp pinpoint stars into blurry fog.
To eliminate dew formation, always strap a USB-powered lens heater strip around the front of your lens barrel. Regulated by a simple temperature dial, the heating element raises the glass temperature just 1°C to 2°C above ambient dew point, ensuring pristine clarity throughout 8-hour shooting sessions without introducing optical heat turbulence.
10. Complete Nightscape Camera Setup Checklist
- Format: RAW uncompressed (14-bit or 16-bit color depth).
- White Balance: Custom Kelvin 3900K – 4100K.
- Drive Mode: 2-second exposure delay or electronic intervalometer.
- Long Exposure NR: Disabled to maximize field shooting speed.
- High ISO NR: Disabled (handled in desktop raw software).
- LCD Screen: Dimmed to minimum brightness with night red filter mode.
11. Astrophotographer’s Field Safety and Wildlife Awareness
Venturing into remote wilderness areas to find pristine Bortle 1 dark skies requires sound outdoor safety judgment. Always inform friends or family of your exact GPS coordinates before departing, as remote mountain canyons often lack cellular reception. Carry high-output emergency headlamps alongside your red observing lights, wear warm layers in anticipation of severe nighttime radiative temperature drops (even in desert summer nights), and store food securely inside your vehicle to avoid attracting nocturnal wildlife such as coyotes or bears.